

Dear Jerry: What kind of caulk do you like?
Jerry Grimes gets into the goop.
Dear Jerry is an advice column by Jerry Grimes. Readers can submit questions about materials, fabrication techniques, professional etiquette, lover’s quarrels, getting into grad school, whatever.

Q: Dear Jerry,
How do you caulk a wall? And what’s your preferred brand of caulk for a job like this?
Signed,
Seeking Something Sticky
Dear SSS,
You want to talk caulk, do ya?
First problem: you didn’t tell me what kind of job you’re doing. But I’m gonna assume you’re trying to seal the gap between a wall and trim–baseboard, window, door, something like that. You probably want to clean it up, make it tight, make it look like you knew what you were doing all along.
Okay, so first up: what is caulking? Caulk is a sauce we lay down to seal and adhere. Not all caulking is an adhesive and not all adhesives are caulking, though there are a few that can be used for both applications.
Real ones know the job title used to be called a mastic man. Now we just call ‘em a “caulker.” Yes a “caulker” is a profession, and–who knows–by the end of this letter you might be running off to join the goop troop.
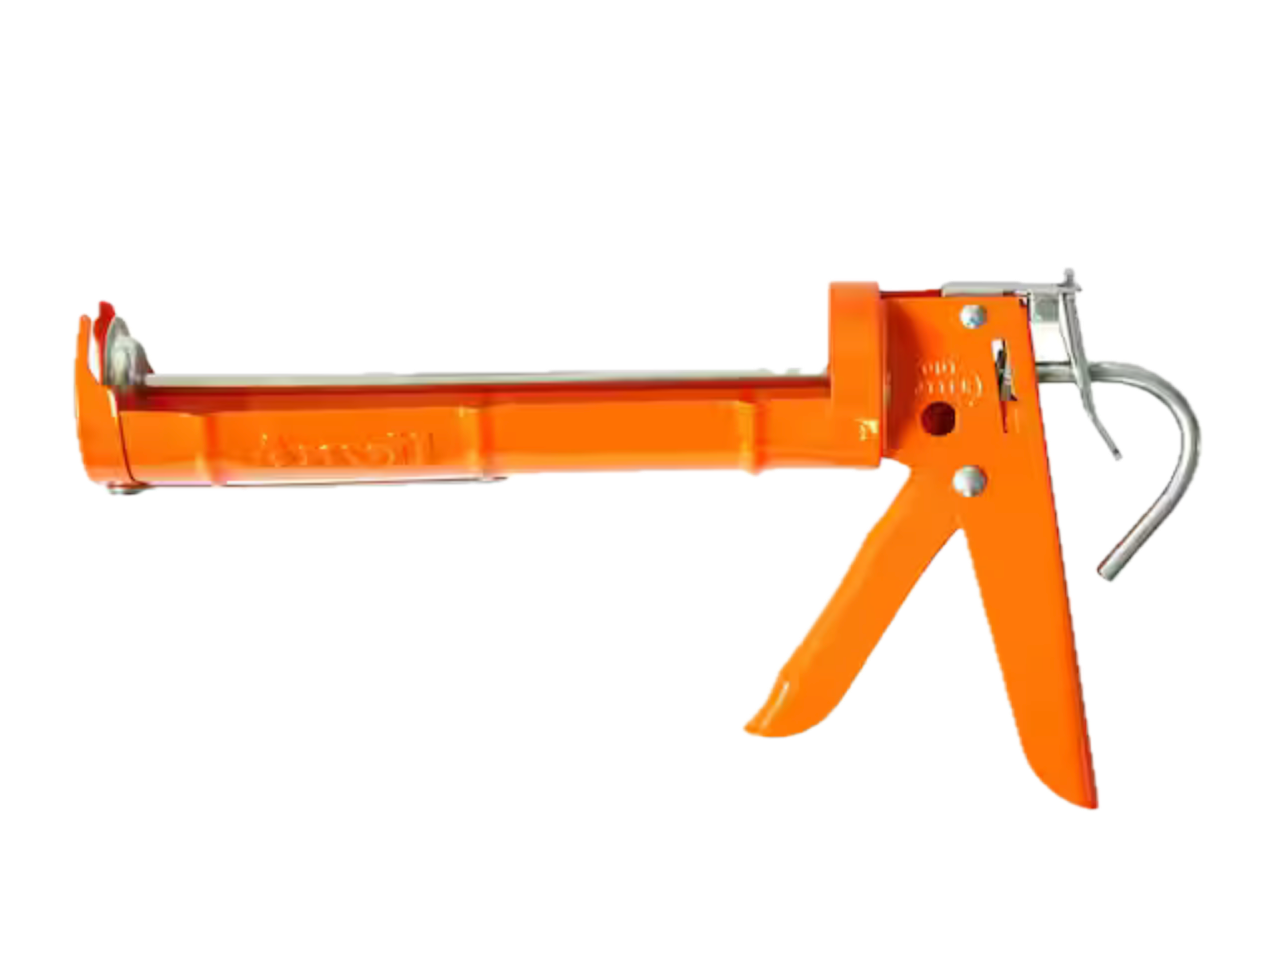
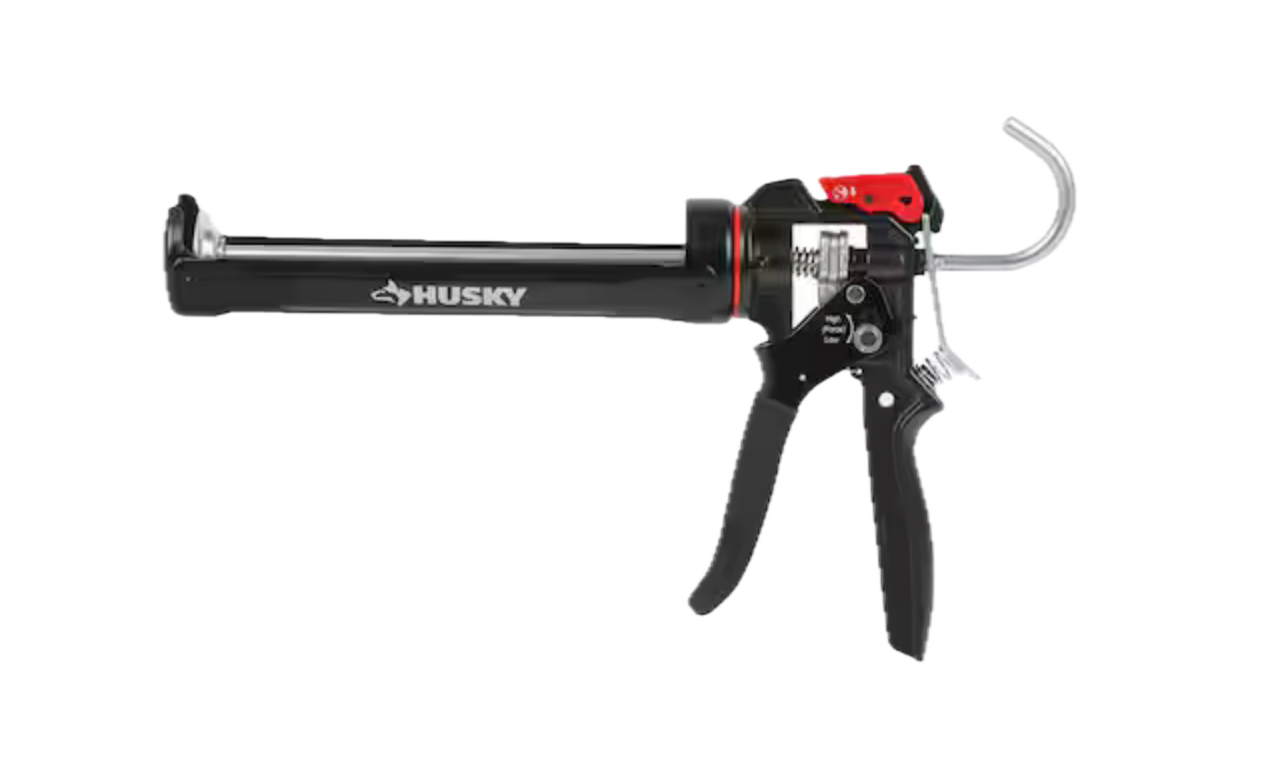
First: The Gun
Don’t waste your time and money with the cheapest beer-can-sheet-metal-caulk-gun you can pick up. Spend the extra bucks on a decent gun this allows for:
- fewer tears
- cleaner lines
- smoother trigger (no Hercules hand strength needed)
- a release latch that actually works (so it doesn’t dribble in your hands like a busted ketchup bottle)
What You Need: Jerry’s Setup
Get your act together before you start:
- Caulk (see my picks below)
- A decent caulking gun
- Utility knife (to cut the tip)
- 2” blue painters tape
- Striking solution:
Silicone caulk - use denatured or isopropyl alcohol
Latex caulk - soapy water works fine
- Spray bottle (for striking solution)
- Rag (you will need it)
Optional but smart:
- Paper towels
- Trash bag
Hot Tips: Before You Get Started
- Cold caulk doesn’t move good. Think: me getting out of bed on a January morning. Not easy. So keep your caulk somewhere warm.
- Don’t stab the tube like an animal. Some caulks don’t have an inner seal. You’ll just look stupid trying to poke through it.
- Prep work makes the dream work. If you’re trying to pull clean lines, prep is 99% of it.
How To Caulk a Wall: Step-by-Step
1. Clean the area. Dust, debris, old gunk–get it out of there.
2. Tape your lines. Run blue tape on both sides of the joint to give you some clean edges.
3. Cut the tip. Just the tip! You can always go bigger, but you can’t go back.
4. Load the gun and run the bead. Move at a consistent pace with steady pressure. Don’t start and stop like you’re learning how to drive stick shift.
5. Mist the bead. Lightly spray your striking solution over the caulk line. This will keep it from dragging when you smooth it.
6. Strike the joint. Run your finger along the bead, one clean pass, steady pressure. Excess caulk goes onto the tape (that’s what it’s there for) and you’ll get a big blob on your finger (wipe it on your rag).
7. Peel the tape. Do this right away, while the caulk is wet. That feels good, right?
8. Now walk away. Don’t touch it! Don’t try to just “fix one little thing.” That’s how you’re going to ruin it.
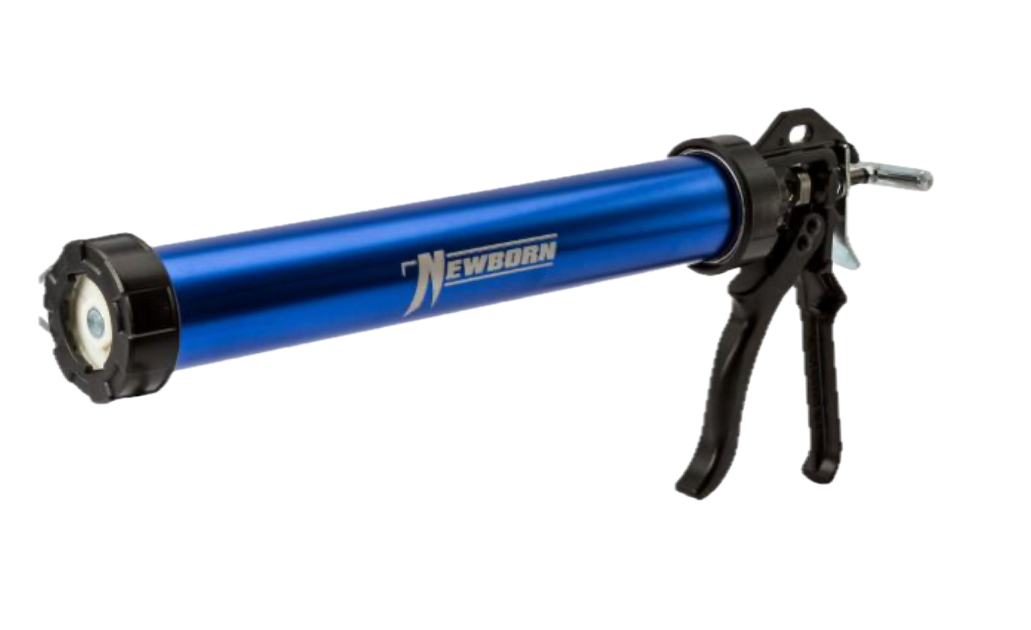
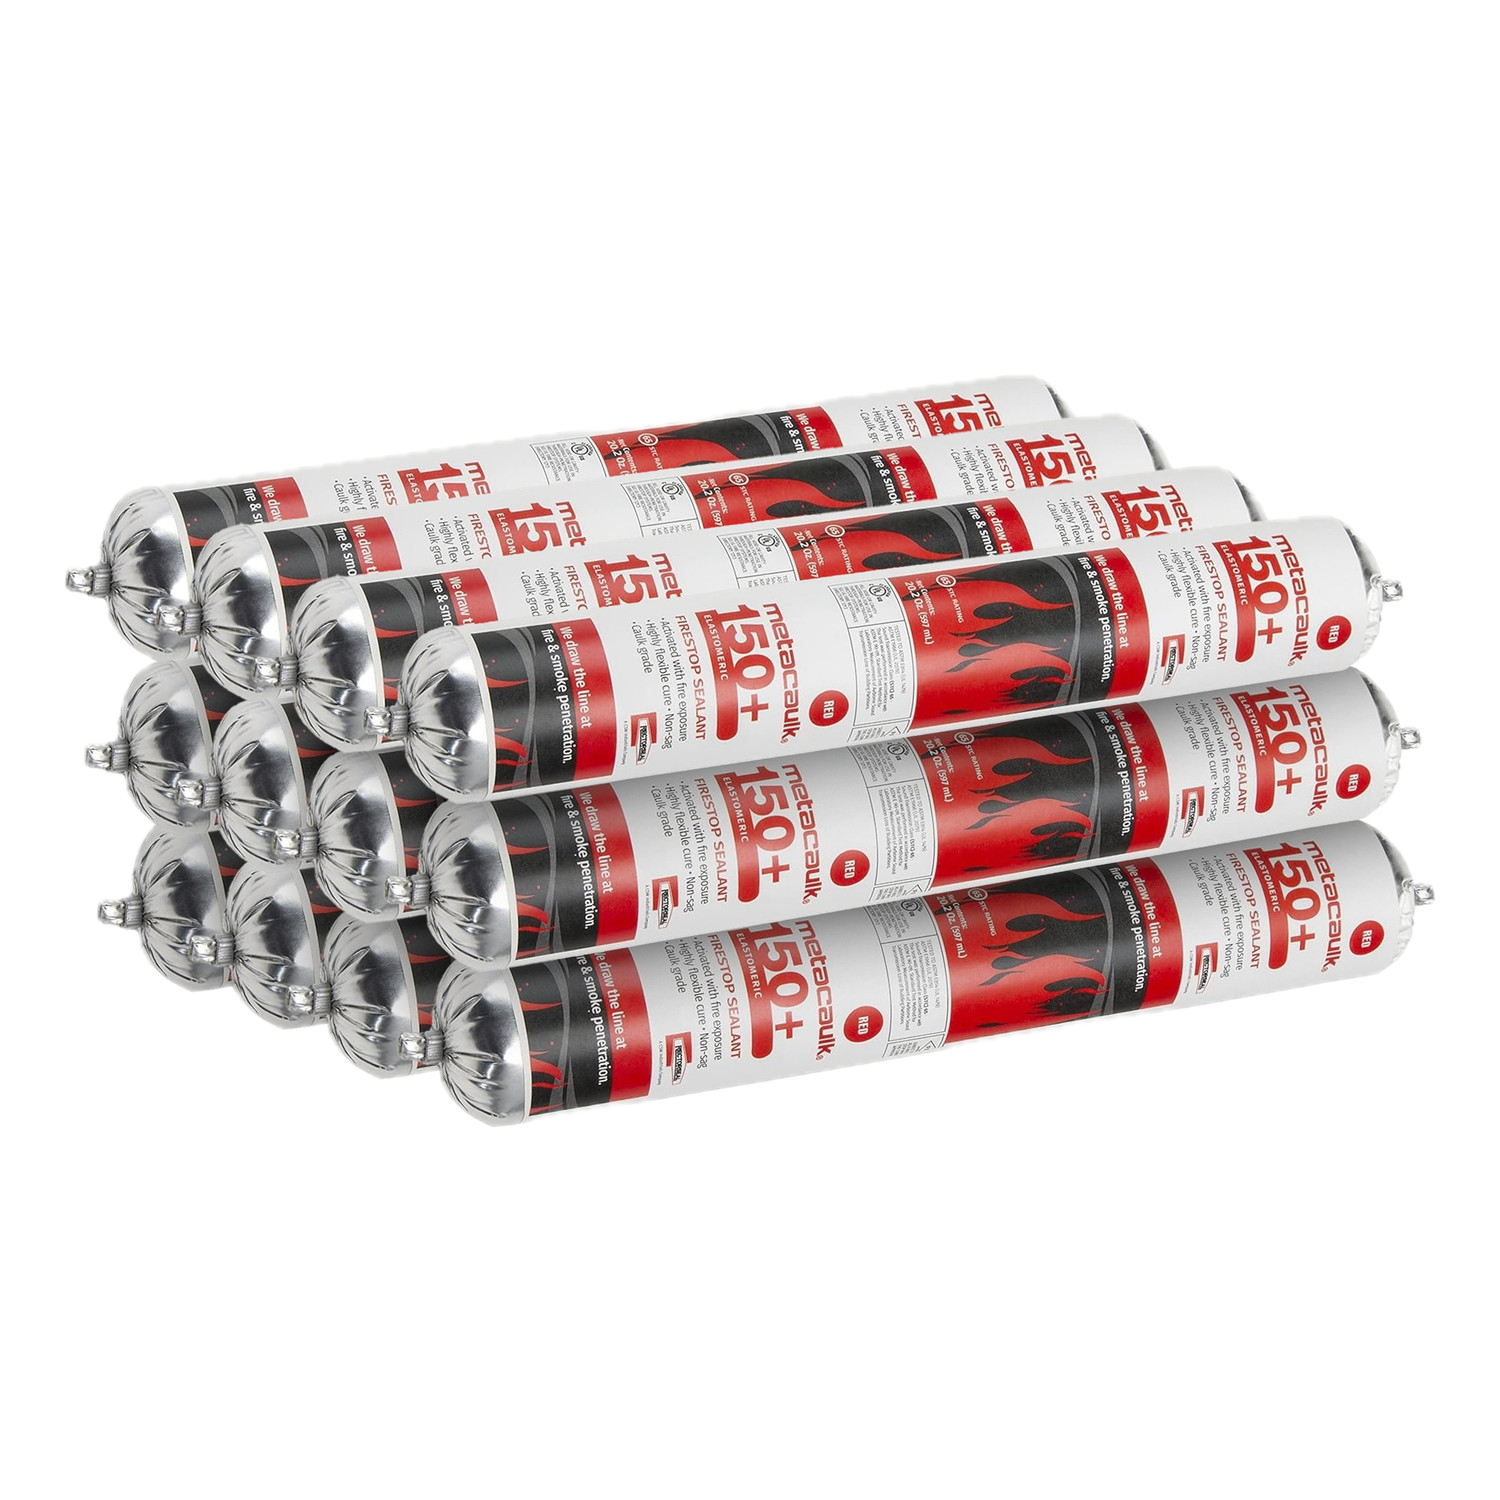
Advanced: For the Goop Enthusiasts
If you start doing this a lot, you might want to invest in a chub gun. Let me tell you, it’s kind of satisfying to walk into a supply place asking for a “chub gun and a case of sausage” and instead of being asked to leave they ask you “what color sausage?”
Caulking and adhesives are packed like Jimmy Dean breakfast sausage. This packaging is cheaper long-term and leads to less trash. The chub gun handle rotates so you’re not having to do some kind of interpretive dance around corners.
“Do Your Best and Caulk the Rest”
…is not the philosophy I live by. It sounds nice, but in my (and my ex-wife’s) experience, you can’t usually cover up your shortcomings so easily. Caulk doesn’t fix bad work, but it can provide a nice transition between surfaces. When done properly, it disappears. It can even become a focal point if you want–like icing on a cake.
And now…
Jerry’s Top 3 Sauces of 2026
1. White Lightning (DAP Alex Plus) - Cheap, easy cleanup, comes in all sorts of colors, great for interior, everyday use.
2. 100% Silicone - For when you need a real seal. Wet areas, slick surfaces. The only way to go.
3. NP1 Master Seal - This is a brand name polyurethane-based adhesive that sticks to dang near everything. And it remains flexible once cured. More adhesive than caulk, but it can be used to seal an edge.

If you’re still scared to find yourself in the aisle at Ace staring at 47 tubes having an existential breakdown: comment “SPREADSHEET” and I’ll think about sharing my handy dandy cheat sheet for caulk to cure your analysis paralysis.
Good luck gettin goopy.
–Jerry

Do you have a question for Jerry? Ask him for his advice on art materials, fabrication techniques, professional etiquette, lover’s quarrels, vintage cars, applying to grad school, sandwich-making, international travel, or any other areas of life where you could use some advice or good news.
SPREADSHEET !!!